Free delivery on orders over £35
|
Beautiful Nails, Beautiful Savings
|
Fresh nail designs every week!
|
|
Free delivery on orders over £35
|
Beautiful Nails, Beautiful Savings
|
Fresh nail designs every week!
|
|
Choose what you are happy for us to use. Essential cookies keep the shop working, so they stay on.
Needed to run the shop: your basket, secure checkout, your login, fraud prevention and remembering this cookie choice. These cannot be switched off.
Remembers how you like the site to look and behave — recently viewed shades, your wishlist and display settings. Nothing here is based on your interests or used for advertising.
On by default for this purpose. Switch it off and we will stop.
Helps us count visits and see which pages and products people struggle with, so we can improve the shop. We use Google Analytics for this.
Lets us show you our ads on Google, Meta and other sites, and measure whether those ads led to an order. This involves sharing data with those companies.
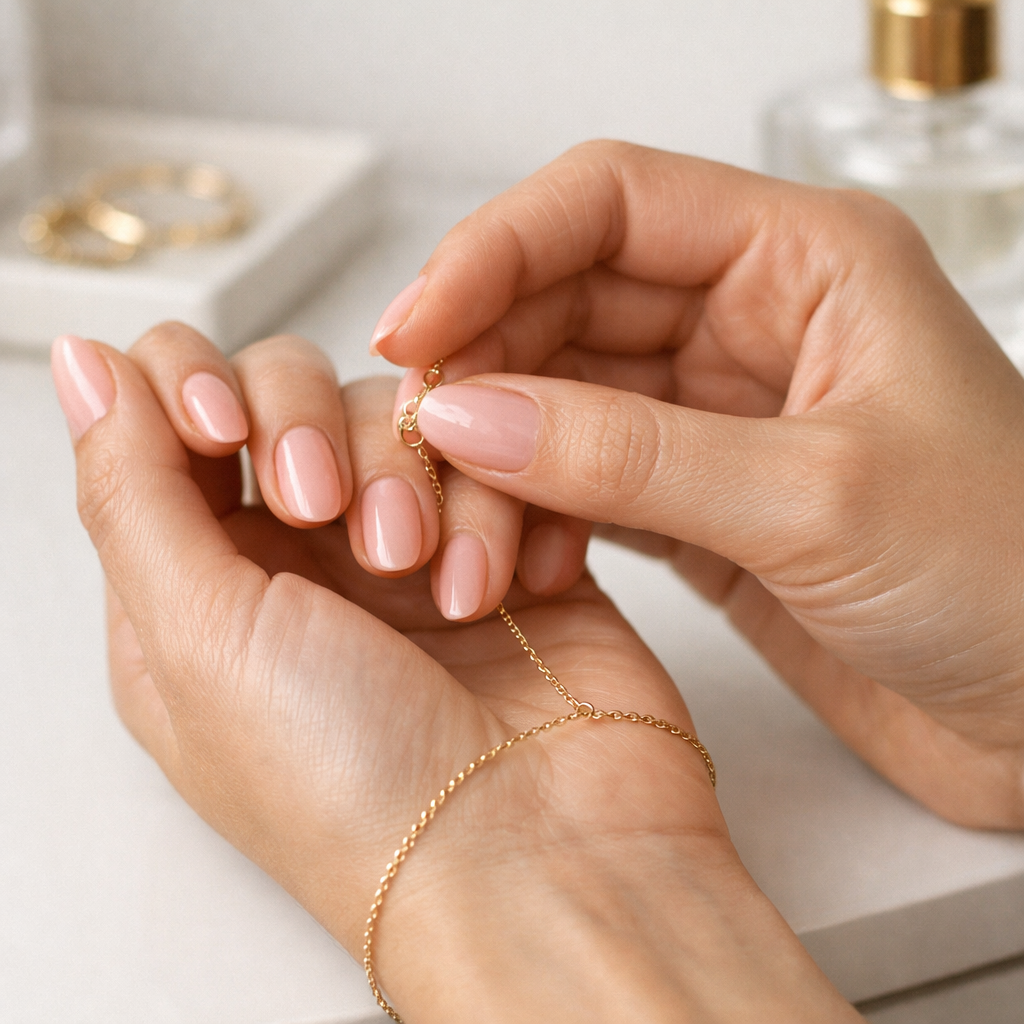
If you are seeing gel nail strips lifting at the tips or side edges, the cause is usually tiny, fixable prep or sizing details rather than the strips themselves. A semi-cured gel nail strip is a flexible layer of real gel polish that is partially cured, applied to the nail, then fully set under a UV LED lamp for a glossy, salon-style finish at home. If you want a fresh set before you practise the fixes below, browse Velvora’s semi-cured gel nail strips, with sets from GBP 10 and 20 strip sizes in every pack.
Gel nail strips lift when the adhesive gel cannot bond cleanly to the nail plate, usually because of oil, skin contact, overhang, under-curing, or an edge that was not pressed down firmly enough. The lift often starts as a tiny pale line at the cuticle or free edge, then catches on hair, jumpers or towels.
In our experience, most first-time users do one of two things: they choose a strip that is slightly too wide, or they moisturise too close to application. Both feel harmless in the moment, but gel bonds best to a clean, dry nail surface, not to cuticle oil, hand cream or skin.
There is also a shape factor. Flat nail beds, very curved C-curves, short bitten nails and nails with ridges all need slightly different pressure and trimming. The aim is not just to stick the strip on, it is to mould it to your nail so the edges sit flush before the lamp sets everything in place.
The best way to stop gel nail strips lifting is to prep for adhesion, size down rather than up, press the edges for 30 seconds, and cure only after every border is sealed. For a full visual routine, Velvora’s step-by-step gel strip application guide pairs well with the edge-specific advice below.
Wash your hands, dry them thoroughly, then push back the cuticle and gently remove any non-living cuticle from the nail plate. If you can see a cloudy film near the cuticle, the strip may stick to that film instead of your nail.
Use an alcohol wipe or nail cleanser after shaping and buffing, not before. This removes dust and oil at the last possible moment. Give the nail 30 to 60 seconds to air dry before applying the strip, especially if your hands are naturally warm or humid.
A strip that looks perfectly edge-to-edge may actually touch the sidewall once you press it down. That skin contact is one of the fastest routes to lifting. If you are between two sizes, choose the smaller one and stretch it very gently across the nail.
Velvora sets include 20 strips in various sizes because real nails rarely match a neat set of ten identical widths. After testing across many nail shapes, we have found that a 0.5 mm gap around the cuticle and sides looks cleaner after curing than a strip that floods the edges.
This is the tip we wish every beginner knew. Press down the centre first, then work from cuticle to tip, and finally spend a full 30 seconds sealing the sidewalls and free edge with a wooden stick, silicone pusher or fingertip wrapped in the backing film.
That extra pressure time helps the semi-cured gel conform to small ridges and curves. In our Velvora tests, quick pressing was fine for the centre of the nail, but not for edges that face daily friction from typing, washing hair and opening bags.
The fastest fix depends on where the lifting appears. Use this table to diagnose the problem before you remove a whole set unnecessarily.
| Lifting area | Most likely cause | Best fix for next time | Can you rescue it? |
|---|---|---|---|
| Cuticle edge | Strip touched cuticle or invisible skin on the nail plate | Push back cuticles, cleanse well, leave a 0.5 mm gap | Only if the lift is tiny and clean, press flat and add a thin clear top coat if you use one |
| Side edge | Strip too wide or not pressed into the curve | Size down and press each sidewall for 30 seconds | Trim the lifted side carefully if it has not collected lint |
| Tip | Overhang, rough filing, or no free-edge seal | Trim close, file downwards, cap the edge before curing | File away the snag if it is small |
| Whole strip | Oil, water, lotion, or heavy buffing dust left behind | Cleanse last, keep nails dry, avoid cuticle oil before application | Usually better to remove and reapply |
| After showering | Early water exposure or insufficient cure | Avoid hot water for 2 hours and cure for the full lamp cycle | Press flat while dry, but replace if water has entered underneath |
If lifting appears with soreness, swelling, green discolouration or nail separation, do not cover it with another strip. Give the nail a break and check reliable nail health guidance such as the NHS guide to nail problems, or speak to a pharmacist or GP.
Gel nail strips cure best when the strip is smooth, fully adhered, and exposed evenly to the correct UV LED light. The lamp does not fix poor contact, it locks in whatever contact you created before curing.
Place your hand flat in the lamp, not angled up at the fingertips. Thumbs often need separate curing because they sit sideways in many lamps. If the thumb edge keeps lifting, cure it alone with the nail facing the LEDs directly.
Use the correct curing time for your lamp and product instructions. Semi-cured gel contains photo-initiators, which react to UV LED light and turn the flexible strip into a firmer gel layer. Under-curing can leave the strip too soft at the edge, while over-filing after curing can break the seal you just created.
If your current lamp feels weak or uneven, look at Velvora’s UV LED lamp options for gel strips. A consistent cure is especially helpful if you prefer darker shades, chrome looks or thicker glitter designs, which can need careful light exposure.
Before curing, fold the excess strip over the free edge and press it underneath the tip if your nail length allows. After curing, file in one direction from top to underside, never in a rough sawing motion. That downward filing keeps the gel edge neat rather than lifting it back up.
For very short nails, trim the strip close before curing and press the free edge with the flat side of the wooden stick. Short nails can still wear beautifully, but they need a cleaner tip line because there is less free edge to wrap.
Most lifting after a good application comes from water, heat, picking or oil used too soon. Wait at least 2 hours after curing before a long bath, washing your hair, swimming or doing a big clean with hot water.
Cuticle oil is brilliant for flexible, healthy-looking nails, but timing matters. Do not use it before applying gel strips, and avoid flooding the edges immediately after curing. From the next day, a small amount around the skin can help reduce dryness and picking.
Velvora fans often tell us that a pen format makes this easier because it is precise. The Watermelon Cuticle Oil Pen lets you apply a neat swipe around the cuticle without soaking the gel edge. Use it once daily, preferably at bedtime, rather than repeatedly during the first few hours after application.
Household habits matter too. Wear gloves for washing up or cleaning, pat nails dry after showers, and avoid using your nails as tools. If you often catch the same index finger, file that nail a touch shorter next time and choose a slightly narrower strip for it.
A beginner-friendly kit should give you clean prep, accurate sizing, firm edge pressure and reliable curing in one routine. If you are new to semi-cured gel, the Velvora Gel Nail Strips Starter Kit is the simplest way to avoid missing a key step.
At minimum, you want a cuticle pusher, nail file, alcohol wipe, wooden stick and UV LED lamp. A soft buffer can help if your nails are very smooth, but keep buffing gentle. Over-buffing thins the nail and can make tips more bendy, which encourages lifting.
For regular users, subscriptions and bundles can be useful because you can keep a few shades ready for events, work weeks and seasonal changes. Velvora also offers free UK delivery on orders over GBP 35, so topping up tools and strips together often makes sense.
Velvora is a UK-based nail brand focused on semi-cured gel strips that are practical, compliant and kind to use. Our gel strips are 100% vegan, cruelty-free, 14-Free and HEMA-Free, with product compliance details available on the Velvora product safety and ingredients page.
Every set is designed for at-home wear of up to 2 weeks when applied and removed correctly. We are honest about that wording because lifestyle, nail type and application all affect wear time. A nurse washing hands all day, a new parent sterilising bottles, and someone typing at a desk will not put the same stress on a manicure.
Our products are CPNP registered, REACH certified and made in certified facilities using precise Japanese blade technology for clean strip shaping. Customer feedback often centres on the same point: once the sizing and edge-pressing step clicks, the finish looks far more expensive than the time it takes.
If your last set lifted, do not write off gel strips. Adjust the strip width, press the borders properly and keep oil away until after curing has settled. Ready to try again? Shop now and find your next shade with a better edge-sealing routine.
Gel nail strips usually lift after one day because oil, water, lotion or cuticle tissue blocked the bond, or because the strip touched the skin at the edges. Cleanse the nail last, choose a slightly narrower strip, and press each edge for 30 seconds before curing.
It is better not to glue down lifting gel nail strips, especially if water, lint or dirt has entered underneath. Trapping moisture can irritate the nail. If the lift is more than a tiny clean edge, remove and replace the strip.
No, gel nail strips should not touch the cuticle or surrounding skin. Leave around 0.5 mm of space so the gel bonds to the nail plate only. This small gap helps prevent cuticle-edge lifting and looks neater as the nail grows.
Cuticle oil can make gel nail strips lift if it is used before application or flooded around the edges immediately after curing. Use oil from the next day, applying a small amount to the surrounding skin rather than soaking the strip edge.
Cure gel nail strips for the full time recommended by the strip and lamp instructions, making sure each nail faces the LEDs evenly. Thumbs often need to be cured separately because they sit at an angle in many lamps.
It is best to avoid long hot showers, baths, swimming and washing your hair for at least 2 hours after applying gel nail strips. Early heat and water exposure can soften the fresh edge seal and encourage lifting.

No account yet?
Create an Account
