Free delivery on orders over £35
|
Beautiful Nails, Beautiful Savings
|
Fresh nail designs every week!
|
|
Free delivery on orders over £35
|
Beautiful Nails, Beautiful Savings
|
Fresh nail designs every week!
|
|
Choose what you are happy for us to use. Essential cookies keep the shop working, so they stay on.
Needed to run the shop: your basket, secure checkout, your login, fraud prevention and remembering this cookie choice. These cannot be switched off.
Remembers how you like the site to look and behave — recently viewed shades, your wishlist and display settings. Nothing here is based on your interests or used for advertising.
On by default for this purpose. Switch it off and we will stop.
Helps us count visits and see which pages and products people struggle with, so we can improve the shop. We use Google Analytics for this.
Lets us show you our ads on Google, Meta and other sites, and measure whether those ads led to an order. This involves sharing data with those companies.
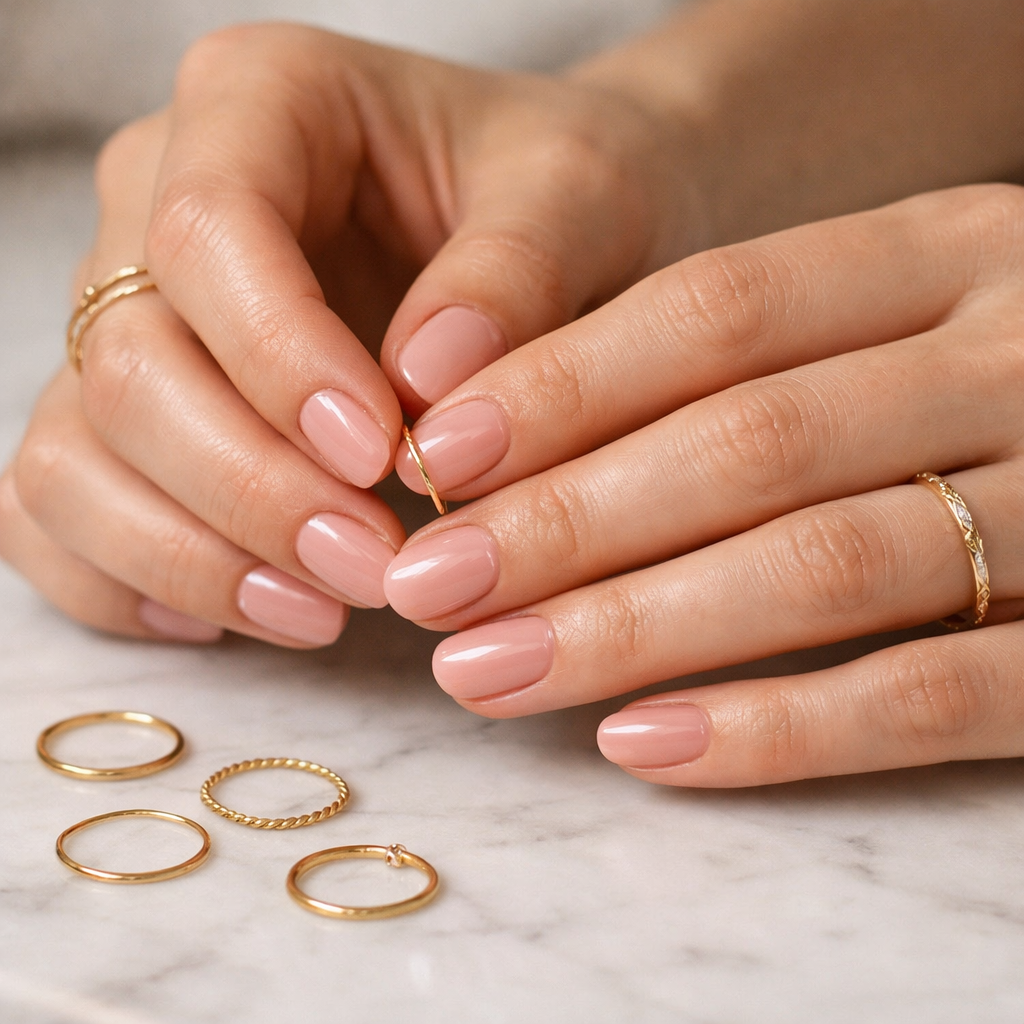
If you’ve been searching for how to do home gel nails that look neat, feel strong, and don’t take over your whole evening, you’re in the right place. We’ve tested every shortcut and “hack” under the sun, and the truth is: the best results come from a few small, repeatable steps—plus the right products.
Ready to get set up? Browse Velvora’s gel nail strips and pick a design you’ll actually want to wear for the next fortnight.
To do home gel nails successfully, you need clean, dry nail plates, a snug fit, and a full cure under an LED lamp. That combination is what gives gel its “set” feeling and helps prevent lifting at the edges.
There are a few ways to achieve gel nails at home (traditional gel polish with base/top coats, builder gel, etc.). In our experience, the most beginner-friendly route is semi-cured gel nail strips because the structure is already built into the strip—you’re focusing on fitting and curing, not painting perfect layers.
If you’re brand new, a kit helps you avoid missing essentials. The Velvora Gel Nail Strips Starter Kit is designed for first-timers who want everything in one place.
You need a gel system that cures, a curing lamp, and basic prep tools. Everything else is optional, nice-to-have, or only needed for specific nail concerns.
Velvora products are 100% vegan, cruelty-free, 14-Free, HEMA-Free, pregnancy safe, and fully UK/EU compliant. If you like to check the details (we do too), see our product safety and ingredients information.
Apply home gel nails by prepping, sizing, sticking, trimming, and curing—then sealing edges with a final cure. If you follow the order below, you’ll avoid 90% of beginner issues.
Clean, dry nails are the difference between “lasted 3 days” and “still perfect next weekend”. Wash hands, dry well, and make sure there’s no hand cream residue on your nail plates.
Pick a strip that fits sidewall to sidewall without touching skin. If you’re between sizes, go slightly smaller and stretch very gently—wrapping onto skin is a fast track to lifting.
Place the strip near (but not on) the cuticle line and smooth towards the tip. Press extra firmly around the sides and free edge.
Our most repeated community tip: use your thumbnail to “trace” the perimeter of each nail for 10 seconds. It helps the gel settle into the edges before curing.
Trim off excess at the free edge. If you prefer a super clean edge, fold the excess under the tip and file downward (not back-and-forth) until it’s flush.
Cure according to your lamp guidance. The goal is a fully hardened surface that doesn’t dent. If a nail still feels slightly soft at the tip, add an extra short cure—under-curing is a common reason for peeling.
Once you’ve got your routine down, it’s genuinely quick. If you’re ready to pick your next set, shop now for new-in styles and classics.
Home gel nails typically last 7–14 days, and you can extend wear by focusing on prep, edge sealing, and aftercare. The “gel” part isn’t magic—longevity is mostly about preventing water and oils from creeping underneath.
If you want a deeper wear-time breakdown (including what different nail types can expect), our testing notes are in how long gel nail strips really last (we tested it).
Most home gel nail problems are caused by oils, sizing errors, or under-curing—and the fixes are simple once you know what to look for.
Fix: next time, leave a hairline gap from the cuticle and make sure no gel touches skin. If one nail lifts early, you can often trim the lifted bit and re-cure, but don’t trap moisture underneath.
Fix: smooth the strip more firmly before curing, especially across the centre of the nail. Wrinkles usually mean there was trapped air or the strip wasn’t laid flat.
Fix: apply in a clean, dry space and avoid fluffy towels right before you start. If a strip picks up lint, it’s better to swap it out than cure it in.
Fix: add another cure cycle. In our experience, some thumbs (bigger nail plates) simply need a little longer under the lamp.
Home gel nails with semi-cured strips are pre-formed gel that you cure once, while gel polish is liquid layers that must be applied and cured separately. Both can look professional, but the learning curve is very different.
| Feature | Semi-cured gel nail strips | Traditional gel polish at home |
|---|---|---|
| Skill needed | Low to medium (mostly sizing + prep) | Medium to high (thin coats, neat painting) |
| Time | Typically 10–20 minutes | Often 45–90 minutes |
| Mess factor | Minimal | Sticky layers, clean-up needed |
| Removal | Peel/soften carefully (no aggressive scraping) | Usually soak-off with acetone |
| Finish | Smooth, glossy, even thickness | Depends on application technique |
Curious about the lamp side of things? We break it down in plain English (including why LED is used) in our UV LED lamp guide for gel nail strips.
Remove home gel nails safely by softening the adhesive and lifting gently—never rip or scrape. If a set has lasted well, it can be tempting to pull, but that’s when you risk taking surface layers with it.
For the full, step-by-step method we recommend at Velvora, follow how to remove gel nail strips safely at home.
Velvora is designed for home gel nails that feel safer, simpler, and more consistent—without compromising on style. We’re UK-based (operated by Digitaliced Ltd), with UK customer support and fast shipping options.
If you’re someone who likes a fresh set on rotation, many of our regulars choose a subscription so their next box arrives before their current set grows out.
Browse shades and designs, then find your perfect set in the shop.
For your first home gel nails, focus on clean, dry prep, pick a strip size that doesn’t touch skin, press firmly at the edges, then cure fully under an LED lamp. Keep your first set simple and allow 15–20 minutes so you’re not rushing the sizing step.
Yes, gel needs light to cure (harden) properly. Semi-cured gel strips are designed to be finished under an LED/UV lamp, which completes the polymerisation so the manicure becomes durable and glossy.
Most home gel nails last 7–14 days depending on prep, nail growth, and how much your hands are in water. With careful prep and good aftercare, many people get wear close to 2 weeks.
It depends on the formula and how you use them, but many people find semi-cured gel strips easier to apply neatly with less skin contact. Choosing HEMA-Free, UK/EU compliant products and following curing and removal instructions carefully can help reduce irritation risk. For broader nail health guidance, see NHS advice on brittle nails and nail care.
Early peeling is usually caused by moisture/oil on the nail plate, strips touching skin, or under-curing. Try applying when nails are completely dry (not after a shower), size slightly smaller, press down edges firmly, and cure for a little longer—especially thumbs.
Yes. Velvora products are 100% vegan and cruelty-free, alongside being 14-Free and HEMA-Free. If you’d like to learn more about cruelty-free standards, read what cruelty-free means from Cruelty Free International.
Want the simplest next step? Choose your design, set up your lamp, and give yourself 15 minutes tonight. Then enjoy that fresh, glossy look all week. Browse the full Velvora collection and shop now.

No account yet?
Create an Account
