Free delivery on orders over £35
|
Beautiful Nails, Beautiful Savings
|
Fresh nail designs every week!
|
|
Free delivery on orders over £35
|
Beautiful Nails, Beautiful Savings
|
Fresh nail designs every week!
|
|
Choose what you are happy for us to use. Essential cookies keep the shop working, so they stay on.
Needed to run the shop: your basket, secure checkout, your login, fraud prevention and remembering this cookie choice. These cannot be switched off.
Remembers how you like the site to look and behave — recently viewed shades, your wishlist and display settings. Nothing here is based on your interests or used for advertising.
On by default for this purpose. Switch it off and we will stop.
Helps us count visits and see which pages and products people struggle with, so we can improve the shop. We use Google Analytics for this.
Lets us show you our ads on Google, Meta and other sites, and measure whether those ads led to an order. This involves sharing data with those companies.
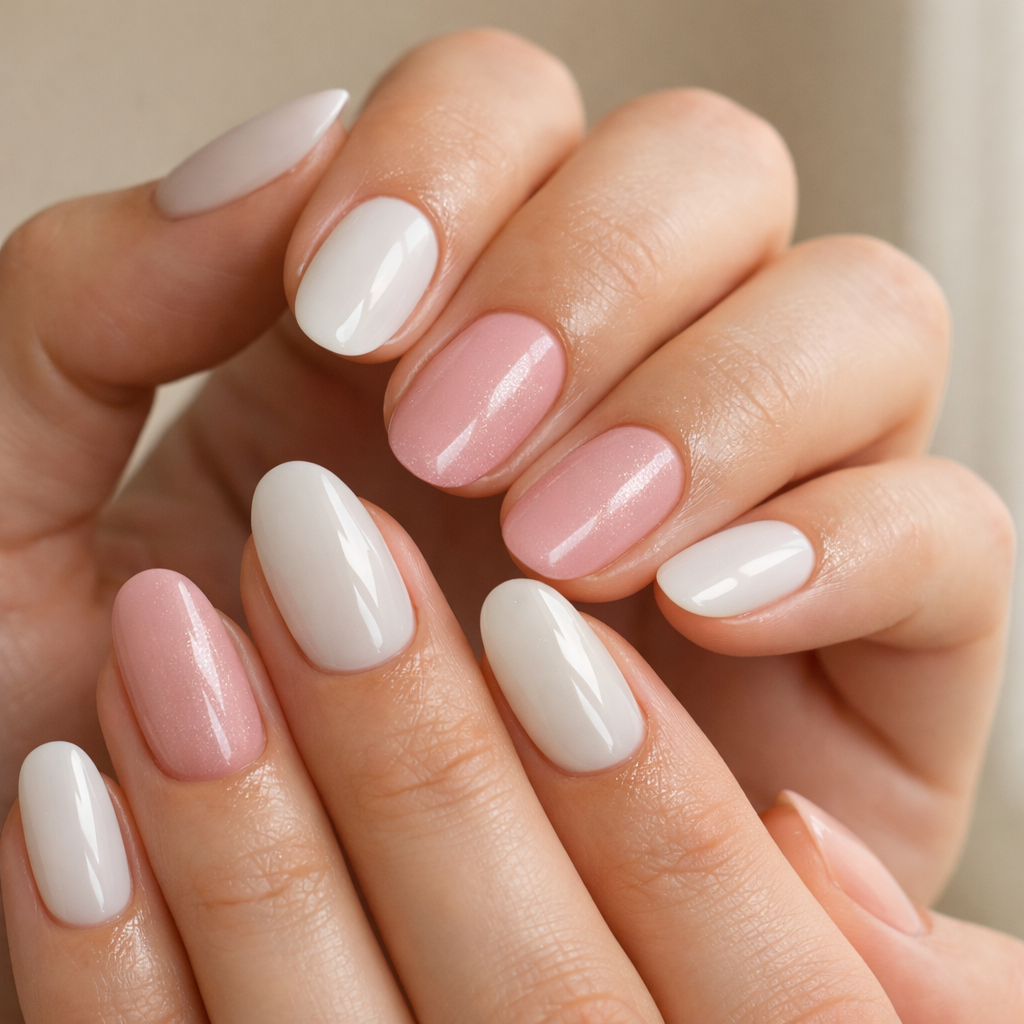
What mistakes ruin nail strips? In our experience, it’s rarely the strips themselves — it’s small prep, fitting, and curing habits that quietly lift an edge or dull the shine within days. The good news: most issues are fixable in minutes, even if you’re brand new to semi-cured gels.
If you’re ready to get a smoother finish (without the salon appointment), browse Velvora’s gel nail strips and shop now for your next set.
The fastest strip-ruiners are (1) applying over oils or skincare residue, (2) sticking strips onto cuticle/skin, and (3) curing too little (or not sealing the free edge). Those three create tiny gaps where water and air get in, then lifting snowballs.
One thing we hear from customers time and again is that their “bad set” was actually a great set applied on a rushed day. Small tweaks make a big difference.
Skipping prep ruins nail strips because semi-cured gel needs a clean, dry surface to grip. If you apply over product residue, the adhesive bond is weaker from the start.
If you want a step-by-step walk-through, follow Velvora’s guide to applying gel strips — it’s the exact routine we teach first-timers.
Applying strips after moisturiser, SPF, or oil ruins wear time because the nail plate becomes too slippery for the strip’s adhesive layer to lock on. Even “fast-absorbing” products can leave a film.
Do your nails first, skincare second. If you’ve already moisturised, give your nails a proper cleanse and wait a few minutes before applying.
Save the hydration for after your manicure. We love using a pen-style oil because it’s neat and targeted — for example, Vanilla Cuticle Oil Pen is ideal once you’ve cured and finished filing.
Wrong sizing ruins nail strips because overhang lifts at the sides, while undersizing leaves exposed nail edges that catch on hair and clothing. Both lead to peeling.
After testing across hundreds of nail shapes and sizes, we’ve found this one rule beats all others: no strip should touch skin if you want longer wear.
Cuticle flooding ruins nail strips because skin moves, nails don’t. Each time you wash your hands or flex your fingers, that overlap lifts, then water works its way underneath.
This is also where beginners see the biggest improvement from a kit that includes the basics. If you’re starting out, Velvora Gel Nail Strips Starter Kit makes the process much less fiddly.
Under-curing ruins nail strips because semi-cured gel still needs UV/LED energy to fully cross-link and harden. If the lamp doesn’t hit the sides evenly, you can get soft edges that lift early.
Semi-cured gel is partially polymerised already. Curing finishes the job: it strengthens the strip, improves scratch resistance, and helps it “set” to your nail shape.
If you’re unsure about timings or lamp placement, Velvora’s UV/LED lamp guide breaks down the basics in plain English.
Not sealing the free edge ruins nail strips because water can wick in from the tip, especially if you’re washing up, shampooing, or doing lots of handwashing.
In our experience, this is the difference between a set that looks tired on day 5 and one that still looks glossy heading into week two.
Over-filing ruins nail strips because it creates micro-lifts at the tip, which then snag. Sawing back and forth can also stress the cured gel edge.
Hot water right after application ruins nail strips because warmth can soften the adhesive interface before it’s fully settled. A long bath or washing up immediately after can trigger early lifting.
Give your set a little settling time. We suggest avoiding long hot soaks for a couple of hours after application, especially if you’re prone to lifting.
Harsh cleaners can ruin nail strips by dulling the shine and weakening edges over time. It’s not about being precious — it’s just chemistry.
For daily maintenance, a pen format is convenient for handbags and desks — try Watermelon Cuticle Oil Pen after handwashing.
Peeling strips off dry ruins nails because it can lift the top layers of your natural nail along with the adhesive. That leaves nails feeling thin and bendy, even if the strip looked fine.
Use a gentle method and take your time. If you want the least drama, follow how to remove gel nail strips safely at home.
| What you see | Most common cause | Fast fix |
|---|---|---|
| Lift at cuticle within 24–48 hours | Strip touching skin / oil on nail | Trim back from cuticle next set; avoid moisturiser before applying |
| Lift at sides (snags in hair) | Strip too wide | Size down; press edges firmly before curing |
| Dents or “soft” feel | Under-cured | Cure again; cure thumbs separately; keep hand flat |
| Tip chips early | Free edge not sealed / over-filing | File downwards; wrap and re-cure |
| Dull, tired shine | Cleaning chemicals / hot water | Wear gloves; cuticle oil daily; avoid long hot soaks right after applying |
You can often rescue a small lift if you catch it early. The key is to stop water getting underneath.
Want your next set to be easier? Browse kits and bestsellers and shop now — gel strips at Velvora start from around £10 per set, with free UK delivery on orders over £35.
Nail strips don’t have to wreck your nails. In our experience, most “damage” comes from over-buffing prep or peeling off dry, not from the strip itself.
For a plain-English explanation of how semi-cured gels work and what “safe” really means, read are semi-cured gel nail strips safe? For broader nail health advice, the NHS guidance on brittle nails and nail changes is a sensible reference point.
Velvora is built for people who want salon-looking nails without the salon scheduling. Our semi-cured gel strips are made in certified facilities using Japanese blade technology for crisp edges, and we back them with UK-based support via Digitaliced Ltd.
If you want to check ingredients and compliance details, see product safety and ingredients information.
Applying on oily nails is the number one mistake. Any residue from moisturiser, SPF, hair products, or cuticle oil weakens adhesion and makes lifting more likely within days.
Nail strips shouldn’t ruin your nails when applied and removed correctly. Most damage comes from over-buffing during prep or peeling strips off dry instead of using a gentle removal method.
Cuticle lifting usually happens because the strip overlaps skin or the nail plate wasn’t fully clean and dry. Leave a tiny gap from the cuticle line, press edges down firmly, and cure with your finger flat.
It’s best not to. Cuticle oil before application can stop the strip bonding properly. Apply oil after curing, focusing on the skin around the nail rather than the nail plate.
With good prep, correct sizing, and proper curing, semi-cured gel nail strips can last up to 2 weeks for many people. Your job, handwashing, and nail growth will affect real-world wear time.
That nail is usually either a sizing issue (strip too wide) or a curing/edge-sealing issue. Size down slightly, keep the strip off the skin, seal the free edge, and cure that finger separately to avoid shadows.
Ready for a set that wears better in real UK life? Browse the full range of French tip gel nail strips for a clean everyday look, then find your perfect set and shop now.

No account yet?
Create an Account
