Free delivery on orders over £35
|
Beautiful Nails, Beautiful Savings
|
Fresh nail designs every week!
|
|
Free delivery on orders over £35
|
Beautiful Nails, Beautiful Savings
|
Fresh nail designs every week!
|
|
Choose what you are happy for us to use. Essential cookies keep the shop working, so they stay on.
Needed to run the shop: your basket, secure checkout, your login, fraud prevention and remembering this cookie choice. These cannot be switched off.
Remembers how you like the site to look and behave — recently viewed shades, your wishlist and display settings. Nothing here is based on your interests or used for advertising.
On by default for this purpose. Switch it off and we will stop.
Helps us count visits and see which pages and products people struggle with, so we can improve the shop. We use Google Analytics for this.
Lets us show you our ads on Google, Meta and other sites, and measure whether those ads led to an order. This involves sharing data with those companies.
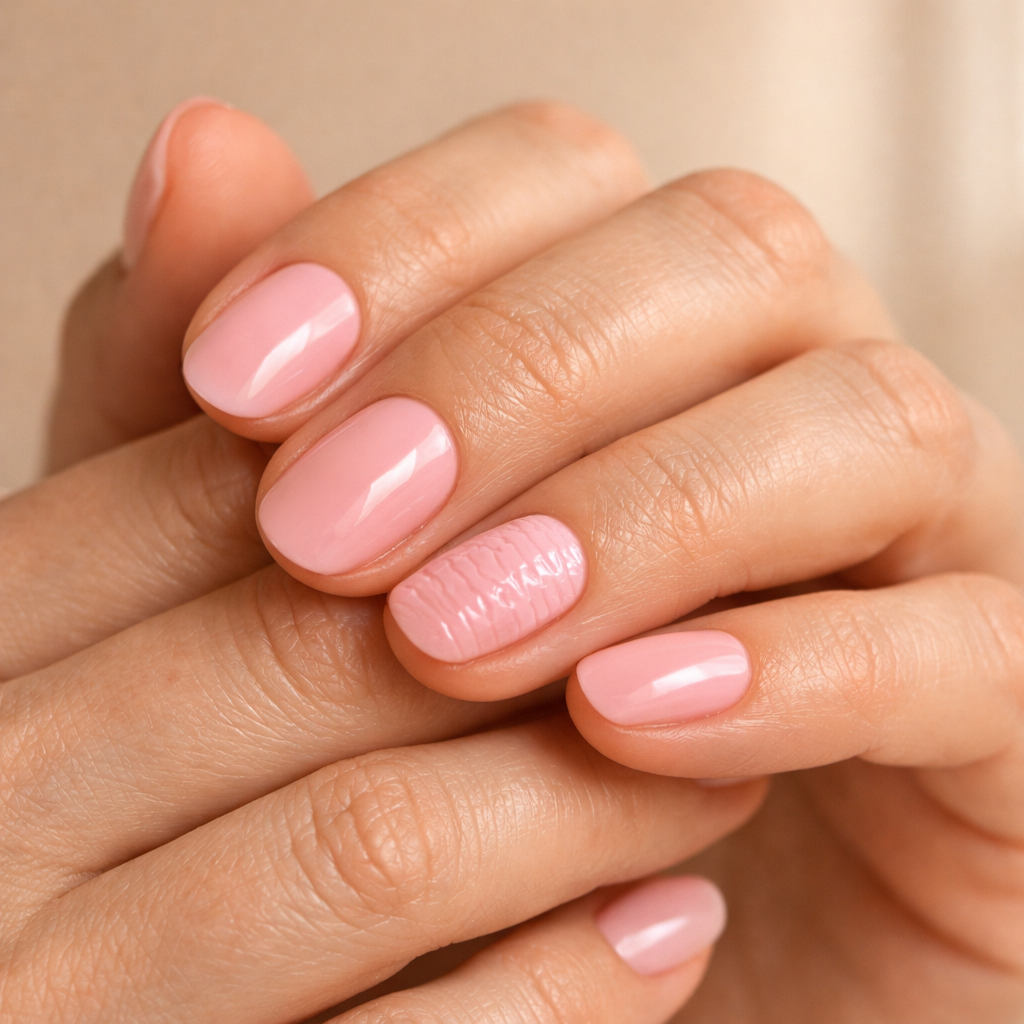
If you’ve ever finished applying semi-cured strips and noticed ripples, crinkles, or little “waves”, you’re not alone. The good news: when gel nail strips wrinkle, it’s nearly always an application or curing issue (not your nails), and it’s usually fixable in minutes.
Before we get into troubleshooting, you can browse our semi-cured gel nail strips and shop now if you want a fresh set to practise with (Velvora sets include 20 strips in multiple sizes).
Gel nail strips wrinkle when part of the strip lifts, shifts, or has micro air pockets, then gets “locked in” during curing. Semi-cured gel is already partly polymerised, so it needs strong contact with the nail plate before you cure to finish the hardening.
In our experience, the wrinkle pattern tells you the cause: small ripples near the cuticle usually mean skin contact or not enough smoothing; wrinkles across the whole nail often mean under-curing or the strip being slightly oversized and “buckling”.
The simplest prevention is: prep properly, size accurately, then smooth firmly from centre out before you cure. If the strip feels perfectly flat pre-cure, it almost always cures perfectly flat.
Wipe nails until they feel squeaky-clean and matte (no slip). Oils are the #1 reason strips don’t bond, and any tiny lift becomes a wrinkle later.
Once you’re done, keep aftercare simple—hydration is great, but save it for after curing. We love an oil pen post-mani, like the Vanilla Cuticle Oil Pen, for daily shine and flexibility.
Pick a strip that fits sidewall-to-sidewall without needing to stretch. If you’re between sizes, choose the slightly smaller one—gaps can be sealed, but a strip that’s too wide will buckle and wrinkle.
If sizing trips you up, use our sizing walkthrough: nail sizing guide.
Start by anchoring the strip in the centre, then press outward to the sides. Think: centre first, then sidewalls, then cuticle area last.
If you want a fully guided flow, follow our complete step-by-step: how to apply gel strips.
Wrinkling after curing usually means the gel didn’t cure evenly or fully, so the top layer sets while the underlying gel is still moving. Correct lamp position and cure time fixes most of these cases.
For best results, use a lamp designed for semi-cured gel and keep fingers flat. If you’re building your kit, our UV LED lamps are made to cure Velvora semi-cured gel properly and evenly.
Stop, smooth, then cure again. If you notice a wrinkle after a short cure, don’t just “cook it longer” and hope—press it flat first, then re-cure.
Where the wrinkle appears usually tells you why it happened. Use this table to troubleshoot quickly.
| Where it wrinkles | Most likely cause | Best fix |
|---|---|---|
| Near the cuticle | Strip touching skin/cuticle, or not pressed down before curing | Re-press cuticle edge, ensure a tiny gap from skin, then re-cure |
| Along one sidewall | Incorrect sizing (too wide) or air trapped to one side | Choose a smaller strip next time; for now, press outward firmly and re-cure |
| Across the whole nail | Under-curing or uneven lamp angle | Flatten hand, cure again; check lamp output/position |
| At the free edge (tip) | Not sealed at the tip, or the strip shifted while curing | Press and seal the edge, file gently, re-cure |
You can often rescue a wrinkled nail without removing the whole set, as long as the wrinkle isn’t caused by major lifting. The goal is to re-flatten and re-cure so the gel sets smooth.
If the wrinkle is coming from an edge that’s lifted because it’s stuck to skin, trim or press it away from the cuticle line (carefully) and re-cure. If the strip is significantly lifted, removal and reapplication will look better.
Need a clean reset? Follow how to remove gel nail strips safely at home so you don’t peel or damage the nail plate.
The most reliable way to prevent wrinkles is consistent prep, correct sizing, and a proper lamp cure—then protect the set with simple aftercare. One thing we hear from customers time and again is that their second set looks dramatically better than their first because the “press and sweep” motion clicks.
For on-the-go hydration, the Watermelon Cuticle Oil Pen is a customer favourite because it’s mess-free and easy to keep in your bag.
If you’re new and want everything in one go (strips + lamp basics), the Velvora Gel Nail Strips Starter Kit makes the learning curve much smoother. Browse options and shop now when you’re ready.
Wrinkling itself is usually a performance issue, not a safety issue—but it can be a sign the strip hasn’t cured properly or has lifted, which can reduce wear time and increase snagging. If a set feels soft hours later, or keeps catching on hair/clothes, remove and reapply with correct curing.
Velvora products are 100% vegan, cruelty-free, 14-Free, HEMA-Free, pregnancy safe, and fully UK/EU compliant (including CPNP registration and REACH compliance). For ingredients and compliance details, see our product safety and ingredients page.
For general nail health guidance, the NHS has practical advice on keeping nails clean, dry, and protected: how to keep your nails healthy (NHS).
Velvora semi-cured gel nail strips are made for a smooth, salon-quality finish at home—without the harshness some people associate with traditional gel systems. They’re produced in certified facilities and cut with Japanese blade technology for clean edges, which helps reduce tiny snags that can lead to lifting and wrinkling.
If you like switching designs often, consider our subscription options (many regulars love the convenience) via the gel strip subscription hub: gel nail strip subscription.
They usually wrinkle after curing because the strip wasn’t fully bonded flat to the nail before curing (air pockets, skin contact, or shifting), or because the cure was uneven (hand angle, especially thumbs). Press the strip smooth first, then cure again with fingers flat and centred under the lamp.
Often, yes. Warm the nail slightly, press the wrinkle flat from the centre out, and re-cure. If the wrinkle is caused by lifting at the cuticle or sidewall, you may need to press/trim that edge and then cure again; major lifting usually looks best if you remove and reapply.
Yes—oversized strips are more likely to buckle and form waves, especially near the sidewalls. If you’re between sizes, choose the slightly smaller strip and smooth it out firmly before curing.
Yes. If the gel isn’t cured evenly or long enough, the strip can stay slightly pliable and shift, creating ripples. Ensure your nail is centred under a suitable UV/LED lamp and your hand is flat so all nails cure consistently (thumbs are the most common culprit).
Wrinkles near the cuticle usually mean the strip is touching skin/cuticle, or that area wasn’t pressed down firmly before curing. Leave a tiny gap from the skin, push cuticles back, and press the edge down firmly before curing.
They can be. Wrinkles often mean there’s a micro-lift underneath, which makes the edge easier to snag and can shorten wear time. Smoothing and re-curing quickly can prevent that small issue becoming a full lift.
If you want your next set to go on even smoother, browse the full range of gel nail strips and find your perfect shade—and remember: flat before cure is the whole secret.
Digitaliced Ltd t/a Velvora.
External reference for cruelty-free standards: Leaping Bunny programme information.

No account yet?
Create an Account
