Free delivery on orders over £35
|
Beautiful Nails, Beautiful Savings
|
Fresh nail designs every week!
|
|
Free delivery on orders over £35
|
Beautiful Nails, Beautiful Savings
|
Fresh nail designs every week!
|
|
Choose what you are happy for us to use. Essential cookies keep the shop working, so they stay on.
Needed to run the shop: your basket, secure checkout, your login, fraud prevention and remembering this cookie choice. These cannot be switched off.
Remembers how you like the site to look and behave — recently viewed shades, your wishlist and display settings. Nothing here is based on your interests or used for advertising.
On by default for this purpose. Switch it off and we will stop.
Helps us count visits and see which pages and products people struggle with, so we can improve the shop. We use Google Analytics for this.
Lets us show you our ads on Google, Meta and other sites, and measure whether those ads led to an order. This involves sharing data with those companies.
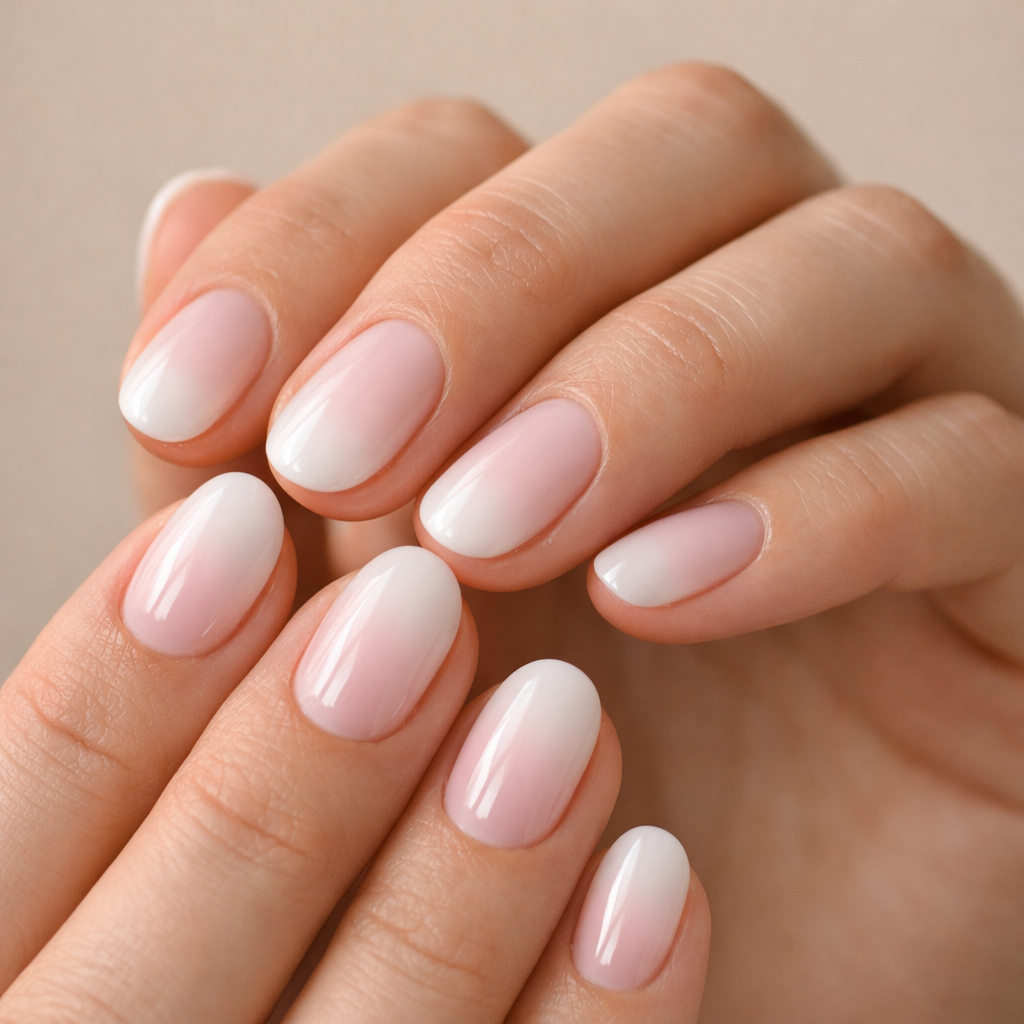
Nail strips shouldn’t lift on day two. In our experience, when nail strips peel it’s almost always down to prep, sizing, or curing—not “bad nails”. This guide breaks down the 7 most common application mistakes we see (and how to fix them) so you can get smooth, long-wearing results at home.
If you’re new to semi-cured gel, start with the basics and then come back to troubleshoot: follow our step-by-step guide to applying gel nail strips. Ready to refresh your kit? Shop now and build a peel-proof routine.
Nail strips peel when the adhesive or gel doesn’t fully bond to a clean, dry nail plate—most often at the cuticle line or the free edge. That lift then catches on hair, clothes, or water, and the strip slowly starts to unseal.
With semi-cured gel nail strips, peeling can also happen if the gel isn’t cured fully through, or if it’s cured while still wrinkled or touching skin. The good news: you can fix this with a few small, repeatable habits.
The quickest way to stop nail strips peeling is to address the exact failure point: cuticle edge, sidewalls, or free edge. Work through the seven mistakes below in order—most people find their culprit by mistake #3.
If your strips peel early, the most common reason is natural nail oil, hand cream residue, SPF, or leftover remover film. Strips need a squeaky-clean surface to grip.
One thing we hear from customers time and again is that their wear time jumps when they apply strips after a shower only once the nails are completely dry (water can sit in the nail for a while). If you’re doing a quick manicure between meetings, give your nails a few extra minutes to air-dry first.
If the strip is sitting on cuticle (or invisible cuticle), it will lift. Cuticle is skin, and strips don’t like sticking to skin.
After testing across hundreds of nail shapes and sizes, we’ve found that a tiny “breathing space” near the cuticle is one of the biggest anti-peel tricks. Think: close, but not touching.
If a strip overlaps your sidewalls even slightly, it will catch and peel. The correct size should sit neatly within your nail edges.
If sizing feels fiddly, you’re not alone—especially with thumbs. Use our nail sizing guide to make it fast and consistent.
If the strip touches skin at the cuticle or sidewalls, it will lift as your skin naturally sheds oils. This is one of the most common causes of “it peeled in the shower”.
For semi-cured gel strips, curing while it’s touching skin can also make the edge rigid and more likely to snag later. Give yourself that tiny gap and you’ll feel the difference.
If nail strips peel at the tip, it’s usually because the free edge wasn’t sealed. This matters even more if you type a lot, wear contact lenses, or do a lot of washing up.
Our community of Velvora fans often shares a simple habit: after curing, press the tip down again for 10 seconds while it’s still warm from the lamp. It helps “set” the edge so it stays flatter day to day.
If you’re using semi-cured gel nail strips, curing is where longevity is won. Under-cured gel can feel a bit soft and prone to lifting; over-curing can make edges brittle if the strip wasn’t perfectly smooth beforehand.
If you’re unsure about timings or lamp placement, follow our UV/LED lamp guide. If you need a lamp that’s designed for at-home gel strips, browse our UV LED lamps (ideal if you’re upgrading from a weaker mini light).
If you wash your hair, do the dishes, or use cleaning products right after applying, you’re asking the edges to lift before the strip has settled. The first few hours matter.
This is especially true in UK winter weather, when hands go from hot water to cold air fast. That repeated expansion and contraction can stress the edges if your seal wasn’t perfect.
The location of the lift tells you what to change. Use this quick table to diagnose the cause in under a minute.
| Where it peels | Most likely cause | Fix for next time |
|---|---|---|
| At the cuticle line | Strip touching skin, invisible cuticle, wrinkles before curing | Push back cuticles, leave a tiny gap, smooth before curing |
| Sidewalls | Strip too wide or misaligned | Size down, stretch gently, press from centre out |
| Free edge (tip) | Tip not sealed, filing back-and-forth | Seal the edge, file one direction, press tips after curing |
| Whole strip lifts quickly | Prep issue (oil/moisture), under-curing for gel strips | Better cleanse, dry time, correct cure time and lamp position |
A consistent routine beats “perfect technique”. These are the steps we use in-house to get a smooth finish quickly, even when we’re switching sets often for photos and testing.
For aftercare, we’re big fans of a portable oil pen because it encourages daily use. Try the Vanilla Cuticle Oil Pen or the Watermelon Cuticle Oil Pen—both are easy to keep by your sink or in your bag.
Yes—peeling triggers are similar, but the fixes can differ. Semi-cured gel strips need correct curing and edge sealing, while nail polish strips are more sensitive to prep and pressure at the tips.
If you’re shopping broadly, start here: browse Velvora gel nail strips. They’re made to be cured under LED for a glossy, salon-style finish at home.
Want a simple set-up without overthinking it? The Velvora Gel Nail Strips Starter Kit is designed for beginners and includes the essentials to get a neat cure and cleaner edges from day one. If you’re ready, browse the full collection.
If you pick or peel off old strips, the top layers of your nail can lift—then your next set is more likely to peel too. Gentle removal keeps the nail plate smooth so strips can bond properly.
If you think your nails are feeling a bit rough, follow our gel nail strip removal guide and give your nails a day with oil and balm before your next set.
Velvora products are made for real life: commuting, typing, school runs, gym sessions, and washing up. Our semi-cured gel nail strips are 100% vegan, cruelty-free, 14-Free, HEMA-Free, pregnancy safe, and fully UK/EU compliant (including CPNP registration and REACH certification). They’re produced in certified facilities and cut with Japanese blade technology for clean edges and consistent sizing.
We’re also UK-based (Digitaliced Ltd), with UK customer support and fast shipping. And because we want you to feel confident trying at-home nails, we offer a 30-day satisfaction policy. Gel strips start from around £10 per set, and you’ll get 20 strips in multiple sizes so you can fit different nails properly—another small detail that helps prevent peeling.
If you want to double down on wear time, add a daily oil habit (after application, not before). Our cuticle oil aftercare guide explains exactly when and how to use it for best results.
Seal the free edge. After trimming, press the strip over the tip, file in one direction, cure fully (for gel strips), then press the tip down again for 10 seconds. Tip peeling is usually a sealing or filing issue, not the strip itself.
Most often, moisture and heat soften the edges that weren’t fully sealed, or the strip was applied when the nail plate still held water. Apply on fully dry nails, avoid hot water for a couple of hours after application, and make sure the strip doesn’t touch skin.
Yes. Under-cured semi-cured gel can stay slightly soft, which makes it easier for edges to lift. Cure for the recommended time and ensure the strip is perfectly smooth before curing—wrinkles cured in place often lead to peeling.
Not usually. Peeling is most often an application issue (oil, sizing, skin contact, sealing, or curing). However, if you’ve picked off previous sets, the nail surface can become rough, which reduces grip. Gentle removal and a few days of oil can help restore smoothness.
After. Applying cuticle oil before strips can cause peeling because oil prevents adhesion. Apply strips on clean, dry nails, then use cuticle oil later the same day (or from the next morning) to keep nails and skin hydrated.
With correct prep, sizing, edge sealing, and (for gel) proper curing, most people can get up to 2 weeks. If you’re seeing lifting in 1–3 days, it’s almost always one of the seven mistakes in this guide.
If you only change three things, make it these: size down, leave a tiny gap at the cuticle, and seal the free edge. Those three fixes solve the majority of peeling reports we see.
When you’re ready for your next set, shop now and pick a design you’ll want to show off for the full wear time—no peeling, no drama.
External references: For general nail health and keeping nails in good condition, see the NHS guidance on brittle nails and nail changes. For EU cosmetics safety context, the European Commission cosmetics legislation overview is a helpful starting point.

No account yet?
Create an Account
