Free delivery on orders over £35
|
Beautiful Nails, Beautiful Savings
|
Fresh nail designs every week!
|
|
Free delivery on orders over £35
|
Beautiful Nails, Beautiful Savings
|
Fresh nail designs every week!
|
|
Choose what you are happy for us to use. Essential cookies keep the shop working, so they stay on.
Needed to run the shop: your basket, secure checkout, your login, fraud prevention and remembering this cookie choice. These cannot be switched off.
Remembers how you like the site to look and behave — recently viewed shades, your wishlist and display settings. Nothing here is based on your interests or used for advertising.
On by default for this purpose. Switch it off and we will stop.
Helps us count visits and see which pages and products people struggle with, so we can improve the shop. We use Google Analytics for this.
Lets us show you our ads on Google, Meta and other sites, and measure whether those ads led to an order. This involves sharing data with those companies.
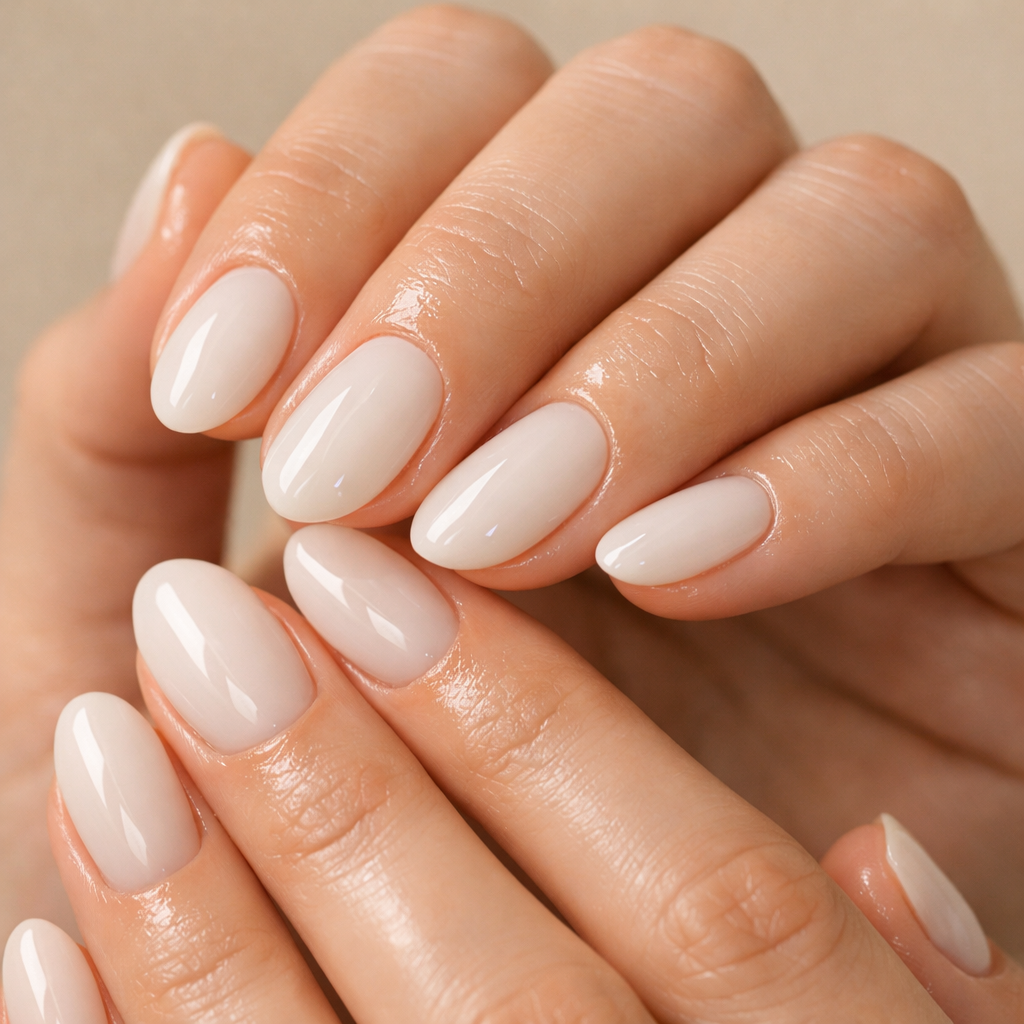
Can nail strips damage your nails? They can, but in our experience it’s usually not the strips themselves—it’s rushed prep, over-filing, or peeling them off when you’re in a hurry. Used correctly, quality strips are a low-drama way to get a glossy manicure at home without the salon faff.
If you’re ready to try a safer, salon-looking set at home, you can shop now—Velvora gel strips start from around £10 per set and we offer free UK delivery on orders over £35.
Yes—nail strips can damage your nails if they’re removed by peeling, if the nail plate is over-buffed, or if the nails are left dry for weeks without aftercare. When applied and removed properly, most people find strips are gentler than frequent gel polish removal and less messy than traditional polish.
One thing we hear from customers time and again is that the “thin and bendy” feeling after removal is often temporary dehydration, not permanent damage. Nails naturally lose oils when they’ve been covered, cleansed, and exposed to acetone or strong solvents—so the fix is usually hydration and a short recovery routine, not panic.
True damage is usually splitting, peeling layers, or rough patches that catch on fabric. Dryness looks like dullness and slight ridging that improves after a few days of oiling and a gentle file.
Most nail strip issues come from technique, not the product. After testing across hundreds of nail shapes and sizes, the same culprits show up again and again.
Peeling lifts the top layers of your nail along with the adhesive. If you’ve ever taken off a sticker and it’s pulled paint with it—that’s the same idea. The faster you peel, the more likely you are to take layers with it.
Use a removal method designed for strips. If you wear semi-cured gel strips, follow a proper guide like how to remove gel nail strips safely.
Your natural nail has protective layers. Heavy buffing to “make it stick” can thin the nail and create that sore, flexible feeling. For strips, you don’t need to rough up the nail—clean and dry is the goal.
Cuticle oil is brilliant—just not right before you apply strips. Oil under the strip can lead to lifting, and then people pick at the edge, which causes the real damage. Oil after curing/removal is where it shines.
After your manicure, a pen-style oil makes it easy to keep up the habit. Our customers love keeping one in their bag, like the Vanilla Cuticle Oil Pen.
Gel strips can last up to 2 weeks (depending on lifestyle), but once you have significant lifting, water and debris can creep underneath. That can make nails feel rougher when you remove them, and it tempts you to pick.
For many people, yes—gel nail strips can be a gentler option than repeated salon gel polish, mainly because you can avoid aggressive e-file prep and acetone soaks done too often. But any nail product can cause issues if removed harshly or worn back-to-back without aftercare.
Semi-cured gel strips are pre-formed layers of gel that are partially cured. You apply them, then finish curing under a lamp so they harden into a glossy, durable finish. Traditional gel polish is a liquid system that’s painted on and cured in layers, and it often relies on stronger removal methods (soaks, scraping) if you’re doing it frequently.
If you’re new to semi-cured gel, start with the category that covers the most designs and finishes: Velvora gel nail strips.
If you’ve had reactions to gel before, ingredient choices can be a big deal. Velvora products are 100% vegan, cruelty-free, 14-Free, and HEMA-Free—and we keep everything fully UK/EU compliant (CPNP registered, REACH certified). You can read more about our approach on product safety & ingredients.
For broader consumer guidance around cosmetic safety in the UK/EU, the UK government overview of cosmetic product regulations is a useful reference point.
The safest routine is simple: clean prep, correct curing, then gentle removal + oil. In our experience, most first-time users get a salon-quality finish within 10 minutes once they stop overworking the nail.
If sizing has ever put you off, use Velvora’s nail sizing guide—it saves a lot of fiddling and helps prevent edge-lifting.
Under-cured gel strips can feel slightly rubbery at the tip, which makes them more likely to snag. A proper cure helps them harden and stay flush, so you’re not tempted to pick at corners. If you’re building your kit, pair strips with a reliable lamp from our UV LED lamp collection.
Aftercare is the difference between “my nails feel amazing” and “why do my nails feel dry?”. Oil and hydration support the nail plate and the surrounding skin, and they also help your manicure look fresher for longer.
A daily swipe of a pen-style oil (especially around the sidewalls) is the easiest habit to stick to. If you prefer fruity, the Watermelon Cuticle Oil Pen is a community favourite.
The safest removal is slow, lubricated, and patient. If you remove strips by peeling, stop as soon as you feel resistance and switch to a gentle method.
Don’t buff the nail trying to “smooth it out”. That often makes it thinner. Instead, lightly file any lifted edges in one direction, then oil twice daily for 3–5 days. If nails are splitting, keep them shorter until they feel stronger.
For general nail health guidance, the NHS overview of brittle nails and common causes is a helpful starting point.
Most people can wear nail strips comfortably, but it’s smart to do a quick check first. If your nails are actively sore, infected, or very split, let them recover before applying any adhesive product.
| What you notice | What it usually means | What to do next |
|---|---|---|
| White patches after removal | Dehydration or minor surface disruption | Oil daily; avoid buffing; take 2–3 days between sets if needed |
| Peeling layers at the free edge | Picked/peeled removal or over-buffing | Keep nails short, file gently, prioritise oil; remove next set slowly |
| Frequent lifting at the sides | Wrong sizing or oil on nail before application | Use correct sizing; avoid moisturiser before prep; cap the tips |
| Red, itchy skin around nails | Possible irritation or allergy | Remove immediately and seek medical advice if it persists |
If you’re starting fresh (or gifting someone their first set), the Velvora Gel Nail Strips Starter Kit is designed to make the whole process simpler, especially for beginners.
Velvora is built for people who want a polished manicure without compromising on ingredients, safety, or convenience. Our strips are made in certified facilities using Japanese blade technology for clean edges, and every set includes 20 strips in multiple sizes so you can get a close fit on different nail shapes.
We’re UK-based (Digitaliced Ltd), with UK shipping and support, and we aim to be transparent: wear time varies by lifestyle, but many customers get up to 2 weeks with good prep and aftercare. If something isn’t right, our 30-day satisfaction policy is there to help.
Velvora products are vegan, cruelty-free, 14-Free, HEMA-Free, pregnancy safe, and fully UK/EU compliant (CPNP registered, REACH certified). If you’re comparing options, this is exactly the sort of detail that can separate “pretty nails” from “pretty nails you feel good about wearing”.
They can if you peel them off, over-buff, or never moisturise. Many people wear strips back-to-back without problems by using gentle removal and applying cuticle oil daily, especially for the first 48 hours after removal.
Not necessarily. Both can be gentle when applied and removed correctly. Gel strips tend to be more durable (so less chipping), while polish strips may remove faster. With either type, the biggest risk factor is peeling during removal.
Most of the time it’s temporary dehydration or minor surface disruption from quick removal. Avoid buffing, file gently if needed, and use cuticle oil twice daily for a few days—nails often feel better quickly.
Slow removal with lubrication and patience is the least damaging approach. Lift an edge gently, soften adhesive as needed, and roll the strip off rather than pulling. Follow a guide designed for your strip type.
HEMA-free formulas can be a better choice for some people who are sensitive to certain gel ingredients, but sensitivities vary. If you’ve had reactions before, patch awareness and careful use matter, and you should seek medical advice if irritation occurs.
Use correct sizing, avoid oils right before application, cure properly if using gel strips, and apply cuticle oil after. If you notice lifting, don’t pick—seal the routine with gentle care and remove them properly when it’s time.
If you want a long-lasting at-home set that prioritises ingredient standards and proper guidance, browse our gel nail strips collection and choose a finish that fits your week. For regular wearers, our subscription boxes can be a simple way to stay stocked without last-minute orders.
When you’re ready, shop now and build your kit around good prep, a solid cure, and oil-led aftercare—your nails will thank you for it.

No account yet?
Create an Account
