Free delivery on orders over £35
|
Beautiful Nails, Beautiful Savings
|
Fresh nail designs every week!
|
|
Free delivery on orders over £35
|
Beautiful Nails, Beautiful Savings
|
Fresh nail designs every week!
|
|
Choose what you are happy for us to use. Essential cookies keep the shop working, so they stay on.
Needed to run the shop: your basket, secure checkout, your login, fraud prevention and remembering this cookie choice. These cannot be switched off.
Remembers how you like the site to look and behave — recently viewed shades, your wishlist and display settings. Nothing here is based on your interests or used for advertising.
On by default for this purpose. Switch it off and we will stop.
Helps us count visits and see which pages and products people struggle with, so we can improve the shop. We use Google Analytics for this.
Lets us show you our ads on Google, Meta and other sites, and measure whether those ads led to an order. This involves sharing data with those companies.
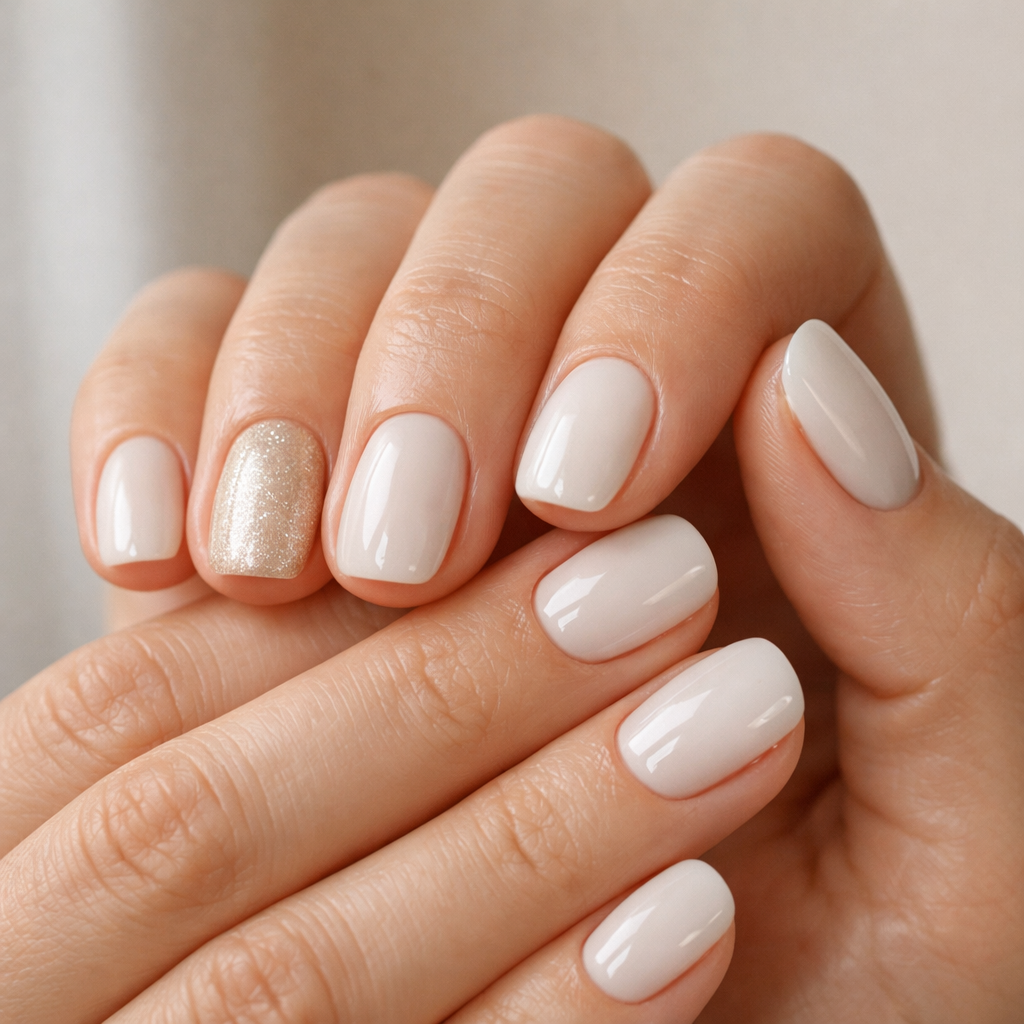
If you’ve ever cured a set and spotted little air bubbles (or a “blistered” look) under the surface, you’re not alone. In our experience testing semi-cured sets across hundreds of nail shapes and sizes, bubbling is nearly always caused by one of three things: trapped air during application, uneven pressure/heat during curing, or a prep issue that stops full adhesion.
Want the easiest route to a smooth finish? Start with the basics in our step-by-step guide to applying gel strips, then browse Velvora’s full range of semi-cured gel nail strips. If you need the whole setup in one go, our Velvora Gel Nail Strips Starter Kit keeps it simple.
Shop now for your next set—gel strips start from £10, and you’ll get free UK delivery on orders over £35.
Gel nail strips bubble after curing because a pocket of air or moisture was trapped between the strip and your nail, and the curing process hardens the gel before that pocket can be pressed out.
Semi-cured gel is partially polymerised (pre-hardened) so it’s flexible enough to apply, then UV/LED curing completes the cross-linking so it becomes durable. If any section isn’t fully stuck down—often at the cuticle line, sidewalls, or tip—cure light sets the top layer while the underside still isn’t in full contact, and the bubble becomes visible.
One thing we hear from customers time and again is that bubbles show up on the nails that are hardest to fit (usually thumbs and index fingers). That’s a clue: it’s more about fit and pressure than “bad strips”.
The most common causes of bubbling are poor nail prep, the wrong strip size, curing before the strip is fully pressed down, or curing heat that lifts a tiny edge.
If the nail plate is even slightly slippery, the strip can look fine pre-cure but lift microscopically as it warms—then you get bubbles. Wash hands, dry thoroughly, and avoid moisturiser right before application.
Too big means the strip overlaps the sidewall/cuticle area and can’t sit flat, creating a ridge that becomes a bubble after curing. Too small leaves uncovered edges that catch, lift, and create air pockets.
If you cure before the strip is fully adhered—especially at the cuticle line and free edge—the lamp hardens the shape as-is, including any tiny lift.
Overhang at the tip can snag, lift, and create a bubble line that becomes obvious after curing.
UV/LED lamps can create a brief warming sensation as gel finishes curing. If an edge is only half-stuck, that warmth can make it lift slightly, and the cure then “freezes” the lift into a bubble.
To prevent bubbles, you need three things: a dry nail surface, the right size strip, and firm pressure before and after your first cure.
If you love finishing with oil (we do too), save it for after the set. Our Strawberry Cuticle Oil Pen is brilliant for aftercare once the strips are fully cured.
Pick a strip that sits just inside the sidewalls. Skin contact is a common reason for lifting and bubbling because the strip can’t bond properly where it overlaps.
Once trimmed, file downwards so the strip hugs the tip. This is where a lot of bubbling is prevented, because you remove the overhang that would otherwise lift during curing.
If bubbles keep happening, a two-stage cure is the simplest fix: a short cure to set the shape, press again, then a full cure to finish.
If you’re using a dedicated lamp, follow the recommended positioning and timing in our UV/LED lamp guide. (Lamp placement matters more than most people think.)
Ready to try again with a smoother finish? Browse our UV LED lamps and essentials, then shop now when you’re set.
Not every “bubble” is the same problem—spotting the difference tells you exactly what to fix.
| What it looks like | Most likely cause | Best fix next time |
|---|---|---|
| Small round bubble under the surface after curing | Trapped air from not pressing centre-to-edge | Press longer, especially near sidewalls, before curing |
| Ripples/wrinkles near cuticle | Strip placed too close; skin contact; too large size | Size down; leave a tiny gap; press cuticle curve carefully |
| Line of “bubbles” along the tip | Overhang not filed flush; tip snagging | Trim closer; file downwards to seal the free edge |
| Edge lifting first, then bubbling later | Oils/water exposure; heat; not fully cured | Prep drier; two-stage cure; avoid hot baths right after |
Sometimes you can improve a small bubble, but if the strip isn’t bonded underneath, the most reliable fix is to remove and reapply a fresh strip.
Here’s what we do in practice:
If you decide to redo, remove gently to protect your nails. This matters even if the set only lasted a day—ripping is what causes damage, not gel strips themselves when used correctly. Follow our safe removal steps in how to remove gel nail strips.
Bubbles aren’t usually a safety issue, but they can lead to lifting, and lifting can trap water—so it’s best to fix the cause rather than “wearing through”.
Velvora strips are HEMA-Free, 14-Free, 100% vegan, cruelty-free, and pregnancy safe, made in certified facilities and fully UK/EU compliant (including CPNP registration and REACH certification). If you want the full ingredients and compliance details, see our product safety and ingredients information.
For broader context on how cosmetics are regulated in the UK and EU, you can also read the European Commission overview of EU cosmetics legislation.
Velvora is built around salon-quality results with at-home practicality: flexible semi-cured gel, consistent sizing, and accessories that make the details (like sealing edges) easier.
If you’re new, the Velvora Gel Nail Strips Starter Kit is the most straightforward way to get the lamp and essentials aligned from day one.
Thumbs bubble most often because they’re wider and flatter, so it’s easier to choose a slightly wrong size or miss pressure at the sidewalls. Try sizing down, pressing from centre to edges for longer, and curing thumbs one at a time so they sit flat under the lamp.
Over-curing doesn’t usually create bubbles by itself. What happens more often is that a tiny lift existed before curing, and curing “sets” it into place. If you suspect heat is lifting an edge, do a short cure, press again, then finish curing.
Not necessarily. Bubbles usually mean the strip wasn’t fully adhered to the nail plate before curing, not that the lamp failed. If the surface feels hard and smooth but you can see a bubble underneath, it’s almost always trapped air from application.
It’s best not to. Cuticle oil is brilliant for aftercare, but before application it can reduce adhesion and increase the chance of lifting and bubbles. Apply oil once your strips are fully cured, especially around the cuticles.
Bubbling or lifting isn’t usually dangerous, but it can trap water and lead to earlier peeling. For best hygiene and wear, remove and reapply if a bubble is large or the strip is lifting significantly. If you have sensitive skin, choose HEMA-free options like Velvora and follow safe removal.
Focus on dryness and pressure: wash and dry hands, avoid hand cream beforehand, press the strip down longer (especially sidewalls), seal the tip with downward filing, and consider a two-stage cure. Oily nail plates can still get up to 2 weeks wear with the right prep.
For more at-home technique tips, our community favourites include pro tips for longer-lasting gel strips. If you want a deeper dive on performance, see our wear-time testing in how long gel nail strips really last.
When you’re ready for your next set, shop now and pick a style that suits your week—work-friendly, weekend bold, or anything in between.
External cruelty-free reference: If you’re learning the difference between “cruelty-free” claims, the Leaping Bunny FAQ is a helpful, non-brand overview of what certification means.

No account yet?
Create an Account
