Free delivery on orders over £35
|
Beautiful Nails, Beautiful Savings
|
Fresh nail designs every week!
|
|
Free delivery on orders over £35
|
Beautiful Nails, Beautiful Savings
|
Fresh nail designs every week!
|
|
Choose what you are happy for us to use. Essential cookies keep the shop working, so they stay on.
Needed to run the shop: your basket, secure checkout, your login, fraud prevention and remembering this cookie choice. These cannot be switched off.
Remembers how you like the site to look and behave — recently viewed shades, your wishlist and display settings. Nothing here is based on your interests or used for advertising.
On by default for this purpose. Switch it off and we will stop.
Helps us count visits and see which pages and products people struggle with, so we can improve the shop. We use Google Analytics for this.
Lets us show you our ads on Google, Meta and other sites, and measure whether those ads led to an order. This involves sharing data with those companies.
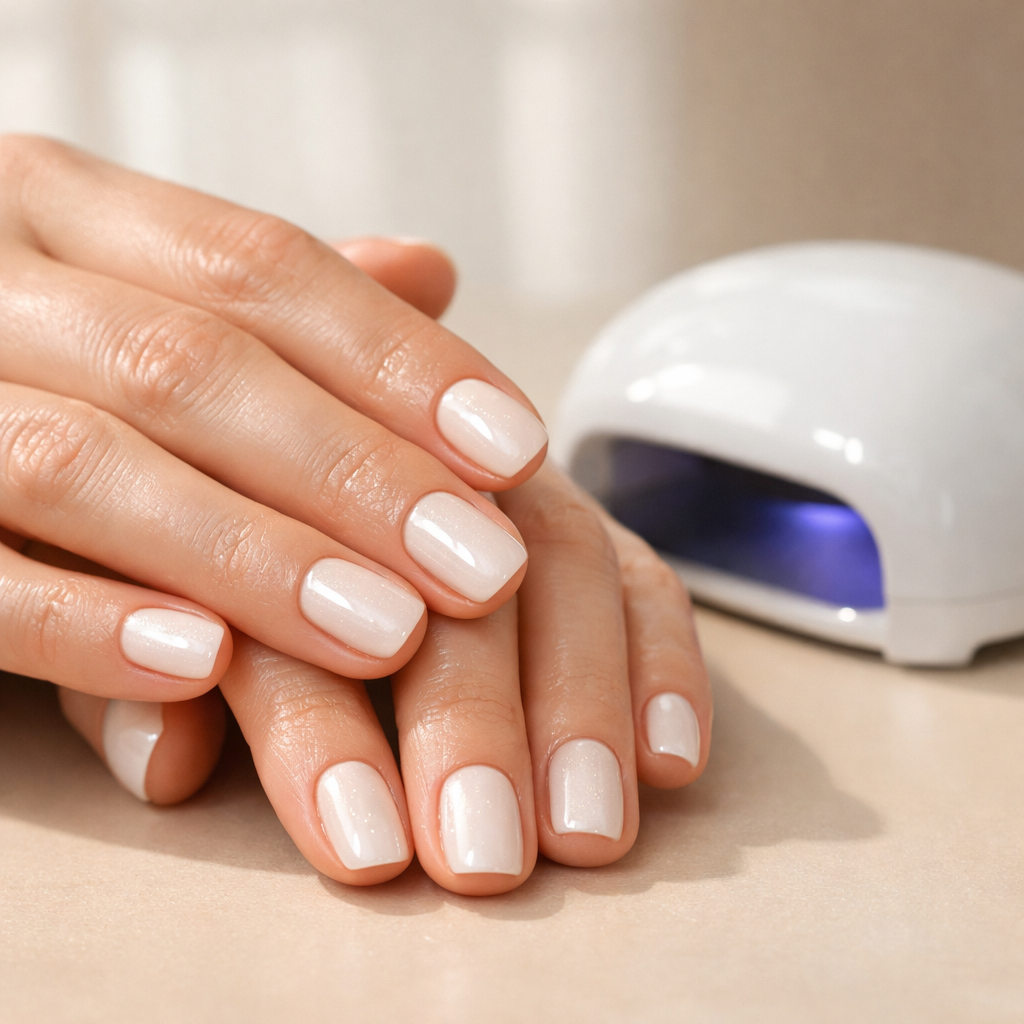
If you’ve ever cured your manicure and watched the edges pull back or tiny lines appear, you’re not imagining it. The most common reason people search why nail wraps crack is the same reason they “shrink” under a lamp: the material changes shape slightly during curing, and any stress points (edges, tips, ridges) show it first.
Want a fast reset? You can shop now for Velvora essentials, or jump to the practical checklist below and troubleshoot your current set in minutes.
Why nail wraps crack is usually down to curing stress: as semi-cured gel finishes hardening under UV/LED, it tightens slightly and any weak adhesion or over-stretched areas can split.
Velvora’s semi-cured gel strips are designed to firm up under LED light, but all gel chemistry has one unavoidable quirk: as monomers link together (polymerisation), the network becomes denser. That density change can look like “shrinkage” at the cuticle or sidewalls, and it can create fine cracks if the strip was pulled too tight, placed over ridges, or cured too aggressively.
Think of the gel like a flexible film that’s partly set. When you cure it, it becomes more rigid. As it becomes rigid, it also becomes slightly smaller and less forgiving. If it’s gripping unevenly (for example, stuck well in the centre but not at the sidewall), the tension concentrates and you see cracking or lifting.
In our experience, most first-time users get a salon-quality finish within 10 minutes, but cracking tends to show up when one of these is true: nails are dehydrated then over-cured, strips are stretched to fit, tips aren’t sealed, or the lamp output isn’t consistent. The good news is it’s nearly always fixable with technique, not “better nails”.
Nail strips appear to shrink under UV/LED because curing tightens the gel structure, and edges are where the strip has the least support and the most leverage.
Customers often tell us, “It looked perfect before curing, then the cuticle line moved.” That’s classic edge tension. If the strip is placed right up against the cuticle (or slightly on the cuticle), any tightening pulls it back. If the sidewalls weren’t pressed down firmly, the strip retracts to its strongest bonded point.
Gel nail wraps crack most often because of one of four things: poor prep, wrong sizing, curing style, or removal damage from a previous set.
Here’s the diagnostic flow we use after testing across hundreds of nail shapes and sizes in the Velvora community.
If oils or skincare sit on the nail plate, adhesion becomes patchy. Patchy adhesion = uneven tension during curing = cracks at stress points.
If you’re new, Velvora’s step-by-step help is on the gel strip application guide.
Choosing the wrong size is the fastest route to cracking. Too small pulls at the sides; too big bunches and can crease.
If sizing is hit-or-miss, use Velvora’s nail sizing guide before your next set.
Over-curing can make gel more brittle. Brittle gel + flexible nails = cracks, especially on longer nails or nails that bend easily.
For lamp specifics and positioning tips, see the UV/LED lamp guide.
If nails are already peeling or very dry, the surface can flex and flake underneath the wrap, creating weak spots that crack later. One thing we hear from customers time and again is that consistent oiling makes a bigger difference than any “hardener”.
A simple daily habit helps: aftercare with cuticle oil (especially after washing up) and gentler removal. Velvora’s routine is laid out in aftercare with cuticle oil.
To stop nail wraps cracking, aim for even adhesion, no stretching, and a controlled cure with a sealed tip.
Most cracking complaints improve when users switch to a more controlled cure. If you’re unsure, start with a shorter cure, check hardness, then add a second short cure.
If you’re building your kit, Velvora’s Gel Nail Strips Starter Kit is a solid option because it removes guesswork for beginners.
Ready to try again with a fresh set? Browse Velvora gel nail strips and pick a design that suits your nail length and daily routine.
No—cracking is usually an application or curing variable, not a safety issue. Semi-cured gel is designed to harden under UV/LED, so technique and lamp output matter.
Velvora products are 100% vegan, cruelty-free, 14-Free, HEMA-Free, pregnancy safe, and fully UK/EU compliant. Our gels are CPNP registered and REACH certified, and made in certified facilities using Japanese blade technology for consistent strip edges.
If you want to read the compliance and ingredient approach in one place, see product safety & ingredients.
For independent context on UV nail lamp safety, the NHS has a helpful overview on sun/UV exposure and skin protection: NHS guidance on UV exposure and protection. (We still recommend curing as directed and avoiding unnecessary over-curing.)
With correct prep and curing, semi-cured gel strips typically last up to 2 weeks, but lifestyle and nail flexibility can reduce that.
In our experience, most cracking that appears within 24 hours points to sizing, cuticle contact, or over-curing. Cracks that appear after a week often come from tip wear (keyboard tapping, cleaning, gym grips) or dehydrated nails.
| When it cracks | Most likely cause | Quick fix next time |
|---|---|---|
| Immediately after curing | Over-stretching or strip touching cuticle | Leave a 0.5–1 mm cuticle gap; don’t stretch |
| Within 24–48 hours | Patchy prep or uneven edge pressure | Clean nail plate; press sidewalls firmly before cure |
| After 5–10 days | Tip wear + dehydration | Seal the free edge; oil daily (especially after washing up) |
Price-wise, Velvora gel strips start from around £10 per set, and each set includes 20 strips in multiple sizes. If you’re stocking up, remember free UK delivery on orders over £35.
Velvora is built for at-home users who want reliable results without harsh ingredients—our strips are HEMA-Free, 14-Free, vegan, cruelty-free, and UK/EU compliant.
We’ve also designed our system around real-life routines: fast application, straightforward removal, and supportive guides if you hit a snag. Digitaliced Ltd operates Velvora in the UK, with UK-based shipping and customer support, and we back your order with a 30-day satisfaction policy so you can try with confidence.
If your nails are prone to dryness (a common cracking trigger), keep a cuticle oil in your bag. Our community loves the Strawberry Cuticle Oil Pen for quick, mess-free top-ups.
For regular wearers, a subscription can simplify life (and reduce “running out” moments). Consider the 4x Gel Strips Box Monthly Subscription if you like switching designs often.
They usually crack right after curing because the gel tightens as it polymerises under UV/LED, and any tension from stretching, poor edge adhesion, or cuticle contact shows up instantly. Size slightly smaller, leave a tiny cuticle gap, and cure in shorter bursts for a more flexible finish.
Nail strips can look like they shrink because semi-cured gel continues hardening under the lamp, becoming denser and slightly tighter. The effect is most visible at the cuticle and sidewalls, especially if the strip was placed too close to skin or not pressed down evenly.
It can be. A very strong lamp or curing for longer than needed can make the gel more brittle, which increases cracking on flexible nails. Try shorter cure times, keep your hand centred, and follow your brand’s lamp guidance for consistent results.
Often, yes. Longer nails flex more at the tip, and repeated bending can create micro-cracks if the free edge isn’t sealed. Trim neatly, file downward, cap the tip, and add cuticle oil daily to keep the nail plate resilient.
Leave a small gap (about 0.5–1 mm) from the cuticle, press the strip down firmly around the base, and avoid getting the product onto skin. If the strip overlaps cuticle, it can lift and retract during curing.
Remove slowly and gently so you don’t peel layers from the nail plate. Use the recommended removal method, lift from an edge gradually, and rehydrate with cuticle oil afterwards. A smoother nail surface helps the next set adhere evenly, which reduces cracking risk.
If you want an easy upgrade for your next set, build a small “no-crack kit”: strips you love, a reliable lamp, and a cuticle oil pen. Browse the latest arrivals and essentials, then shop now when you’re ready.

No account yet?
Create an Account
