Free delivery on orders over £35
|
Beautiful Nails, Beautiful Savings
|
Fresh nail designs every week!
|
|
Free delivery on orders over £35
|
Beautiful Nails, Beautiful Savings
|
Fresh nail designs every week!
|
|
Choose what you are happy for us to use. Essential cookies keep the shop working, so they stay on.
Needed to run the shop: your basket, secure checkout, your login, fraud prevention and remembering this cookie choice. These cannot be switched off.
Remembers how you like the site to look and behave — recently viewed shades, your wishlist and display settings. Nothing here is based on your interests or used for advertising.
On by default for this purpose. Switch it off and we will stop.
Helps us count visits and see which pages and products people struggle with, so we can improve the shop. We use Google Analytics for this.
Lets us show you our ads on Google, Meta and other sites, and measure whether those ads led to an order. This involves sharing data with those companies.
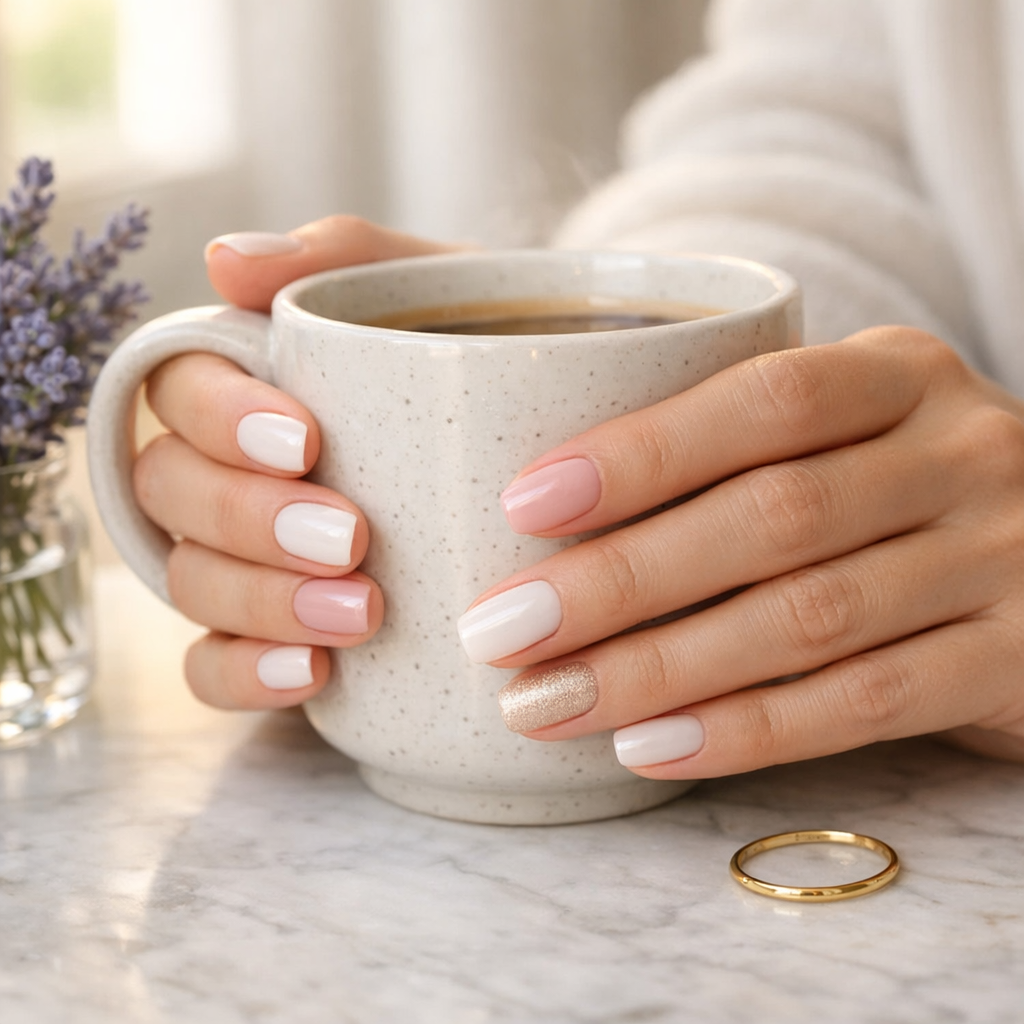
If your gel nail strips look thick or a bit bulky after application, you’re not alone — and it’s usually fixable in minutes. In our experience testing Velvora semi-cured strips across lots of nail shapes (flat, curved, wide thumbs, tiny pinkies), “thickness” is almost always a fit + sealing issue rather than the strip being “too thick”.
Want a smoother finish on your next set? Browse our semi-cured gel nail strips and shop now for your next design.
Gel nail strips look thick when the strip sits “on top” of the nail instead of melting into it. That usually happens because of sizing, placement, or curing technique — not because you did anything “wrong”. Semi-cured gel is designed to be flexible and flatten as you press, seal, and cure.
Velvora strips are HEMA-free, 14-free, vegan, cruelty-free, and pregnancy safe, and they’re produced in certified facilities (including ISO9001) with Japanese blade technology for precision cutting — so when they look bulky, it’s nearly always application mechanics rather than product quality.
If gel nail strips look thick at the cuticle, it’s usually because the strip is too close to (or touching) skin. Leaving a hairline gap and sealing firmly makes the set look instantly thinner and more natural.
One thing we hear from customers time and again is that they were trying to “butt up” the strip to the cuticle for a seamless look — but the opposite works better. That tiny gap disappears visually once everything is smooth and glossy.
Cuticle residue and surface oils stop strips bonding flat. If you’re doing a fresh set, follow a consistent prep routine (push back cuticles, remove invisible cuticle from the nail plate, and ensure nails are fully dry) before you apply. If you’d like a step-by-step, our guide on how to apply gel strips walks through the exact order we use.
If your gel nail strips look thick at the tips, it’s usually an overhang and filing issue. The goal is a clean “capped” edge so the strip feels like part of your nail.
In our experience, most first-time users get a salon-quality finish within 10 minutes once they switch to “downward filing only”. It’s the fastest way to remove that chunky ridge feeling.
If you cure while there’s a long flap hanging over the tip, the gel sets in that shape. Shape first, cure second. If you’ve already cured, you can still refine the tip, but it takes more filing.
Yes — semi-cured gel nail strips can feel slightly thicker than traditional nail polish, but they shouldn’t look bulky. Semi-cured gel is a partially polymerised gel layer (it’s “pre-set” a bit), so it has more structure than polish. Once cured under an LED lamp, the gel crosslinks and becomes tougher — that’s why wear can be up to 2 weeks with good prep and aftercare.
The difference is that polish builds thickness through multiple wet coats. Gel strips give you an even, pre-levelled layer — so if it looks thick, it’s usually sitting unevenly (air pocket, overlap, lifted edge), not that the gel itself is heavy.
| Finish issue | What it usually means | Quick fix |
|---|---|---|
| Bulky cuticle line | Strip touching skin or not sealed | Reapply with a micro-gap; press and seal before curing |
| Thick tip / ridge | Overhang cured or filed side-to-side | Trim closer; file downwards; cap the edge after curing |
| Raised side edges | Oversized strip or curved nail | Size down; stretch gently; press sidewalls firmly |
| Bubbles or “pillows” | Air pocket from light pressing | Lift and re-press before curing; smooth from centre outward |
The best way to prevent gel nail strips looking thick is to size down, seal hard, and cure properly. Here’s the exact checklist we use when we want a super-flat finish for photos and events.
If you’re between sizes, pick the slightly smaller strip and gently stretch it sideways. Oversized strips are the number-one cause of a thick-looking outline. If you’re unsure, use our nail sizing guide before your next order.
Start at the centre, then push towards the sides in short strokes. Curved nails often need an extra 20–30 seconds of firm pressing to eliminate micro air pockets that create a raised look.
A consistent cure helps the gel set flat. If you’re using a dedicated lamp, keep your hand steady and close enough for full exposure (without touching the LEDs). If you want a deeper explanation of why positioning matters, our LED lamp guide breaks it down simply.
Mid-way through your routine, if you need the full set-up in one go, the Velvora Gel Nail Strips Starter Kit is the easiest route for beginners because everything is matched to work together.
Browse the full collection and shop now when you’re ready for your next set.
If your gel nail strips still look thick after curing, focus on the edges and removal/reapply rather than piling on top. Adding extra layers (like thick top coat) can make the bulk worse if the underlying seal isn’t right.
Daily oil keeps cuticles neat, which makes the whole manicure look more “built in” and less raised at the base. Our community loves pen oils for no-mess top-ups — the Vanilla Cuticle Oil Pen is a favourite for handbags and desks.
For a deeper nail-health angle, the NHS has practical guidance on common causes of brittle or damaged nails (helpful if you’re recovering from extensions or over-buffing).
Velvora gel strips are designed to look like a clean gel manicure, not a bulky overlay. Every set includes 20 strips in multiple sizes so you can get a close fit, which is the biggest factor in a thin-looking result.
If you want to read more about how we approach ingredients and compliance, see our product safety and ingredients page.
And if you’re after a thin, ultra-polished look in 2026, our most-requested styles tend to be clean solids and soft shimmer. Start with the solid colour gel nail strips category for the most “natural gel” finish.
They usually look thick and bumpy because of trapped air or uneven pressing before curing. Smooth from the centre out, press the sidewalls firmly, and avoid placing the strip onto the cuticle/skin so it can seal flat.
Semi-cured gel strips can feel slightly thicker than regular polish because they cure into a durable gel layer, but they shouldn’t look bulky. A correct size and a tight seal at the cuticle and free edge makes them look slim and salon-finished.
Tip thickness usually comes from curing a long overhang or filing side-to-side. Trim close, file downwards only, and cap the free edge after curing for a smooth finish.
A thin top coat can add shine, but it won’t fix bulk caused by sizing or lifting edges. If the strip looks thick, focus on resealing the cuticle line, refining the tip, and ensuring a full cure rather than adding more layers.
Not necessarily. Longevity comes from good prep, correct sizing, strong sealing, and careful aftercare. A bulky edge can actually lift sooner, so a flatter application often lasts better (up to 2 weeks is a realistic target).
Use a gentle lift-and-soak method rather than ripping. If you need a refresher, follow Velvora’s gel strip removal steps so you can redo your sizing and placement without stressing the nail plate.
If you want more help with wear and removal, explore our guides hub at Velvora nail guides. When you’re ready to try again with a flatter finish, find your perfect shade and shop now.
Related reading: Some readers also like our deep-dive on how to apply gel nail strips like a pro and the safety explainer are semi-cured gel nail strips safe?

No account yet?
Create an Account
